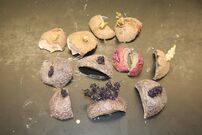
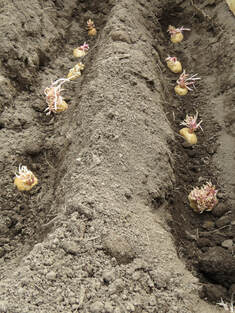
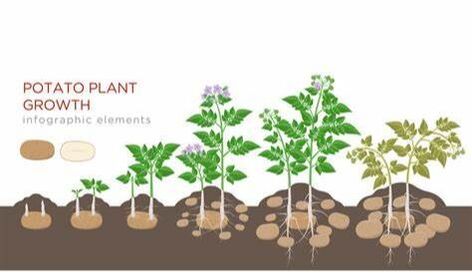
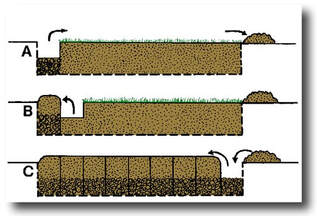
 Spring is right around the corner and one of the first things we plant in the garden is Potatoes. We mark our planting date at on or around St. Patrick's Day. The first thing to think about is which potatoes you choose. Many people will simply sow potatoes from the store – remnants from their cupboards, and often, sowing these can work perfectly well. But if you want a better harvest, choosing high-quality seed potatoes can be a better idea. Certified seed potatoes will be disease free, and will have been specifically selected. Be sure to buy them from a reliable source. We get ours from Fedco , Johnny Seeds or Gurneys which our two great sources. You can also purchase them at most garden centers. Here is a great Potato Variety Chart It is important to choose options which are suitable – not only for your culinary needs and preferences, but also for the climate and conditions where you live. My hint – choose good quality heirloom varieties and you can save your own seed potatoes for next year. Over time, you can selectively breed by selecting the best, and over time, get better and better yields as the potatoes adapt for where you live. 2. Choose the Right Spot To Grow: In the Ground or in Containers? Most of the time, potatoes are grown in the ground. But they can also be grown in raised beds or large containers. On a small scale, potatoes can even be grown in grow bags. What Growing Conditions Do Potatoes Need? Potatoes can be grown in a wide range of locations, but it is important to remember that they are a cool weather crop. Temperatures are the main factor that will determine how well they will grow. Below 50 degrees F, and above 85 degrees F, the growth of the tubers will be sharply inhibited. This is why here in Indiana we plant early and harvest in Summer as the hot days In cooler climate zones, this means growing them in a good, sunny spot. While in warmer climes, they may do better when provided with some shade during the hottest part of the day. When it comes to soil/ growing medium, potatoes are a very accommodating plant. They can do well even where soil and growing conditions are not ideal. The only soil types that could be problematic for potatoes are those which are saline, or alkaline in nature. A good quality loam, rich in organic matter, and slightly acidic, is the ideal soil type for growing potatoes. Let's get growing: Once you have you starts and it is close to planting time you can do a few things to get ready to plant. Tubers are part of the stem of the plant and the little root like things you see popping out are called eyes. The eyes will grow into plants. So a day or so before planting you will want to cut your seed potatoes into pieces leaving 2 eyes on each piece. ( very small potatoes can be planted whole ) Let them sit in a cool dry place for a day or so and let the cut edges skin over a bit. This help prevent fungus growth when planting. Time to plant: In the garden dig a 6 inch deep and 6 inch wide trench. I like to loosen up the soil in the bottom of the trench a bit to make it easy to grow. Next take your potato pieces and place them firmly in the bottom of the trench about 8 to 12 inches apart. Press them into the soil so the make good soil contact. Next cover them with 1" of soil. As your potatoes start to grow towards the sun you can cover the plants leaving just a few inches of the plant above the soil. Continue to mound around the plant as it grows taller. The buried stems will produce more potatoes as you mound. Harvesting potatoes: The plant will continue to grow until the weather becomes to hot and it dies off. After the plant dies it is time to harvest. Using a spud fork ( stiff pitch fork ) to pop soil up and find spuds being careful not poke potatoes. I end up hand digging a lot pretending I am digging for gold ( Yukon Gold) Here are some tips on storing potatoes from https://www.thespruceeats.com/
How to Store Your PotatoesThis is an easy process, but it should be followed precisely for the best results.
3 Comments
This is going to be short and sweet! I simply want to share that the Unity Gardens blog is back! I am looking forward to sharing interesting articles and information with you, as well as giving you a little of the inside scoop here at the garden.
Here's what you can get hyped for in 2023: -Perfect Pairings is back! If you like sips and tastes, you're really going to enjoy this special event in February. See you there! -We've created about 4,000 sq. ft. of additional growing space in the Market Garden... that's big news for our CSA and Farmer's Market customers. -The GeoDome is going in this summer! Look forward to year-round growing and awesome, immersive classes at the garden. -The Edgy Veggie mobile classroom is in it's final phases. We can't wait to go crusin' in that sweet ride! ... and that's just what comes to mind now! So, hang on, spring will come, and the veggies will sprout. We can't wait to keep growing with you!
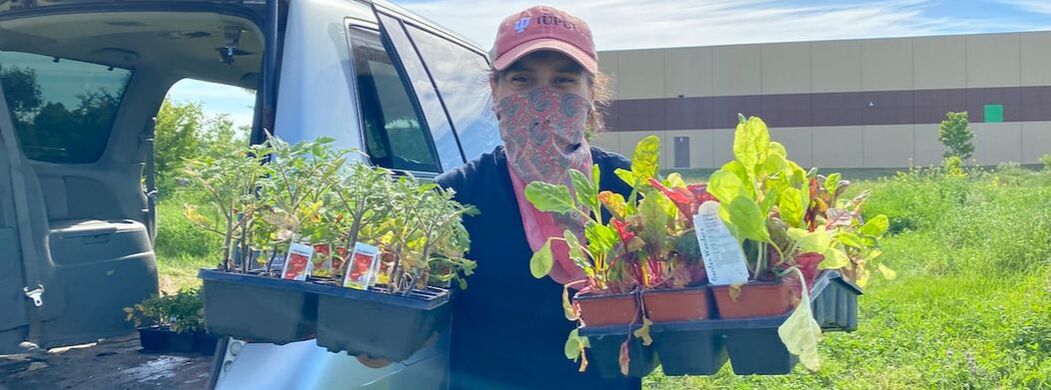
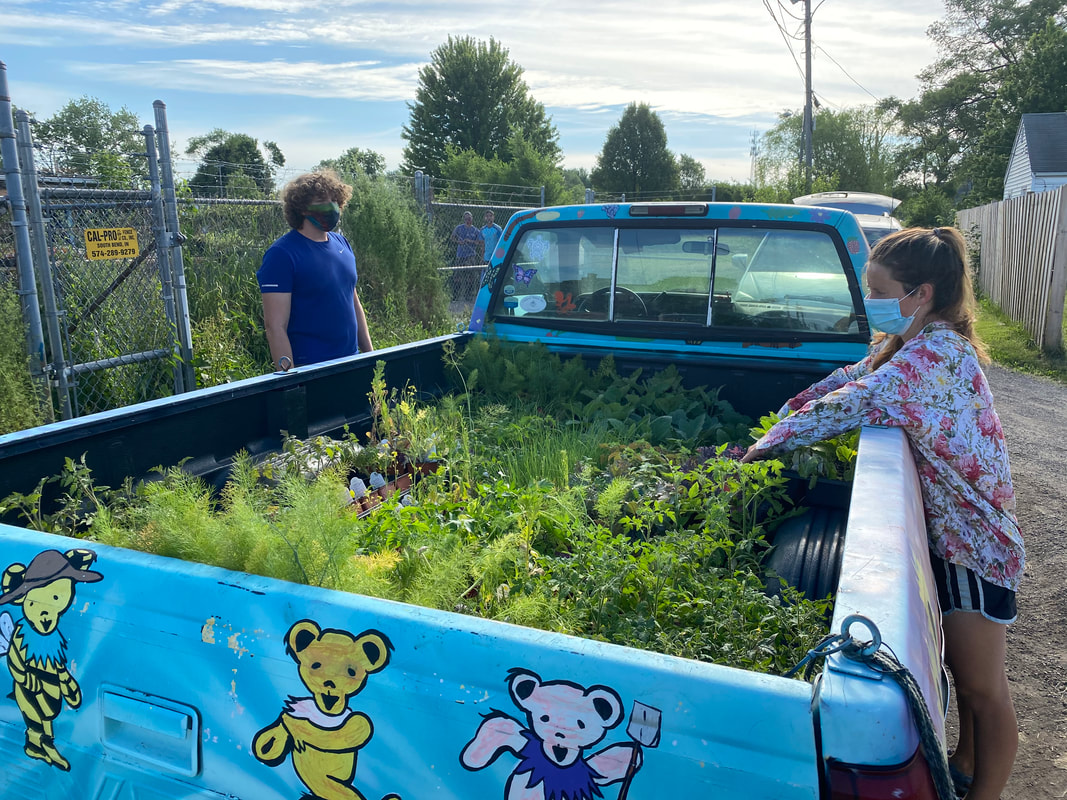
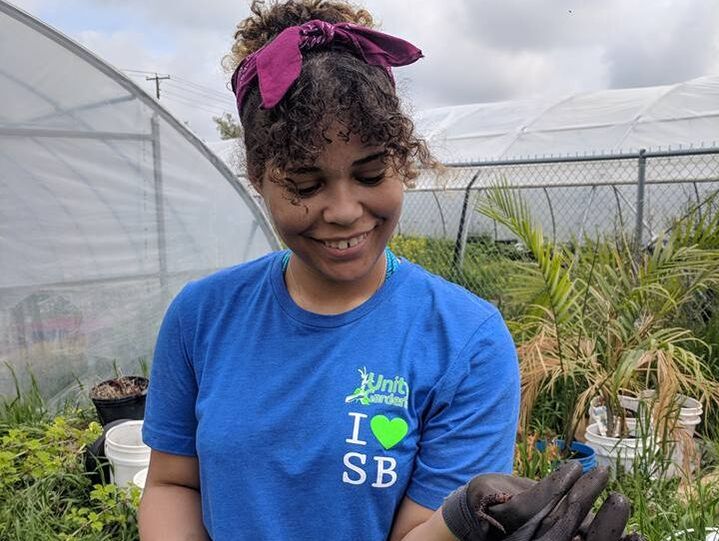
A volunteer helping unload the donated plants from Martin's Greenhouse.For the past few years, Martin’s Greenhouse and Nursery, 3614 W. Western Ave., South Bend, has donated hundreds of plants to the Unity Gardens. Their generosity helps the many Unity Gardens in each neighborhood. Community engagement is what founded Martin’s Greenhouse in 1911. For more than a hundred years, the family-owned business has provided for customers all around the Michiana area, and even some from Indianapolis, Fort Wayne, Grand Rapids and Chicago. Their once community greenhouse has spread out not just location-wise, but also through generations. “We have grandmothers, their daughters, their daughters’ daughters come in year after year after year,” said Allen Neblung, Co-owner of Martin’s Greenhouse. “Three generations come in and we get a lot of people come in and say ‘my grandmother used to shop here.’” Neblung married into the business, with his wife being 5th generation of the family business. Jean Martin-Neblung and her husband enjoy donating to the Unity Gardens because they know the impact the gardens have on communities. “It's a very well run organization,” said Neblung. “Sara [Stewart] and Mitch [Yaciw] do an amazing job of getting community involvement in their classes. Everything they do educational wise is to get people into gardening, which is great. We've always had a policy of every kid that comes into the greenhouse gets a free flower or plant because we want to see the kids getting involved.” The Unity Gardens couldn’t be more appreciative of the donations from Martin’s Greenhouse. Even though the Greenhouse will not be opened until the Spring of 2021, we would still like to express how beneficial they are to this community. “We offer the best product at the fairest price,” said Neblung. But it isn’t just their prices, it’s their customer service that attracts more and more customers. “We attempt to carry out every customer's order to their car to make it simpler. We treat them all like they would like to be treated.” Their commitment to helping others should not go unnoticed. We hope to continue lending a hand to communities alongside Martin’s Greenhouse for more years to come. After all, they do have a hundred years on us.
For us, March is the start of the outdoor gardening season. We love planting Peas and Potatoes. Fresh potatoes from your garden can't be beat.
Growing potatoes:
Planting Peas:
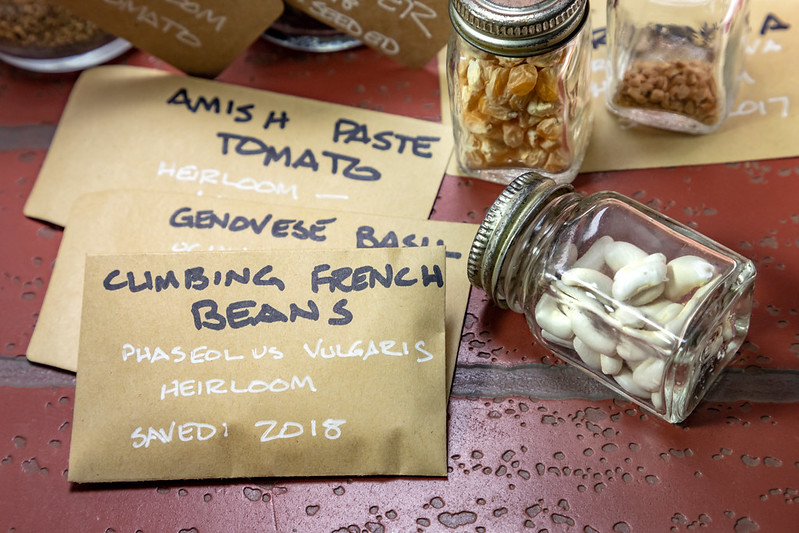
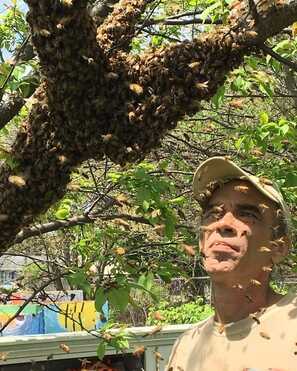 Bee Swarm at the Garden! By Carter DeJong Garden Intern Spring has sprung and the bees at Unity Gardens have begun working hard to bring you Honey from the Hood and your favorite beeswax candles and hand-balms. Recently, our bees have been “swarming”. This occurs when the space inside the hive becomes too limited for the bees and they must find a more suitable area to live. To initiate a swarm, the older queen will leave the hive with about 50 to 60 percent of the worker bees so that they can start a new hive. They will gather at a nearby area to swarm. In this case it was an apple tree branch in the garden. Next, scout bees will be sent to search for a suitable place for a new hive. Once the drone bees report back, the queen will then lead them to the new area. Swarming is also the primary method bees use to reproduce. While swarming, the bees are not very aggressive as they are not defending their hive and they are full of honey. In the picture shown above, our beekeeper, Tim Ives of Ives Hives, looks for queen bees that can be used to start new hives. From this particular swarm, Tim found five or six queens. All of the bees at Unity Gardens are raised without giving them any sugar. Tim’s method involves leaving enough honey for the bees to eat so that they do not need to be fed anything else. Most commercial beekeepers feed their bees sugar so that they can get more honey from them. Unity Gardens Honey from the Hood is made completely naturally and is not pasteurized. Currently it is available in three flavors: fall blend, raspberry blossom, and the award winning South Bend Wildflower. Honey from the Hood is sold at the South Bend and Mishawaka farmers markets. 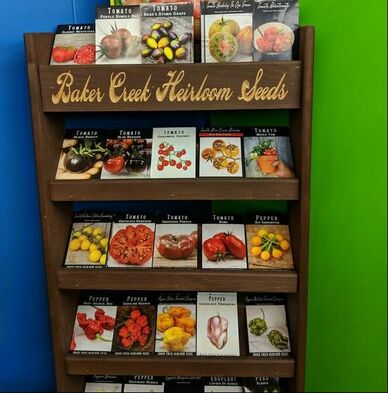 Our Baker Creek Seeds At The Market Our Baker Creek Seeds At The Market Its January in Indiana and you are snowed in. What do you do? Well, if you love gardening, it's a great time to study seed catalogs. There are some things to think about when buying seeds: Heirloom vs Hybrid, Organic vs Non-Organic and of course GMO's. Here are some informational tips:
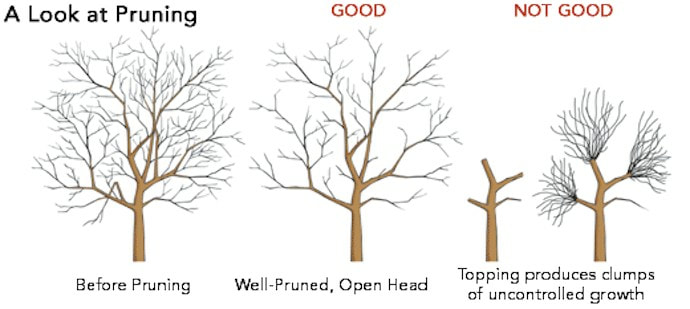
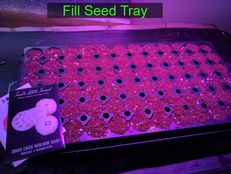
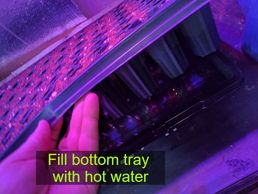
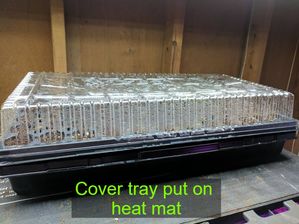
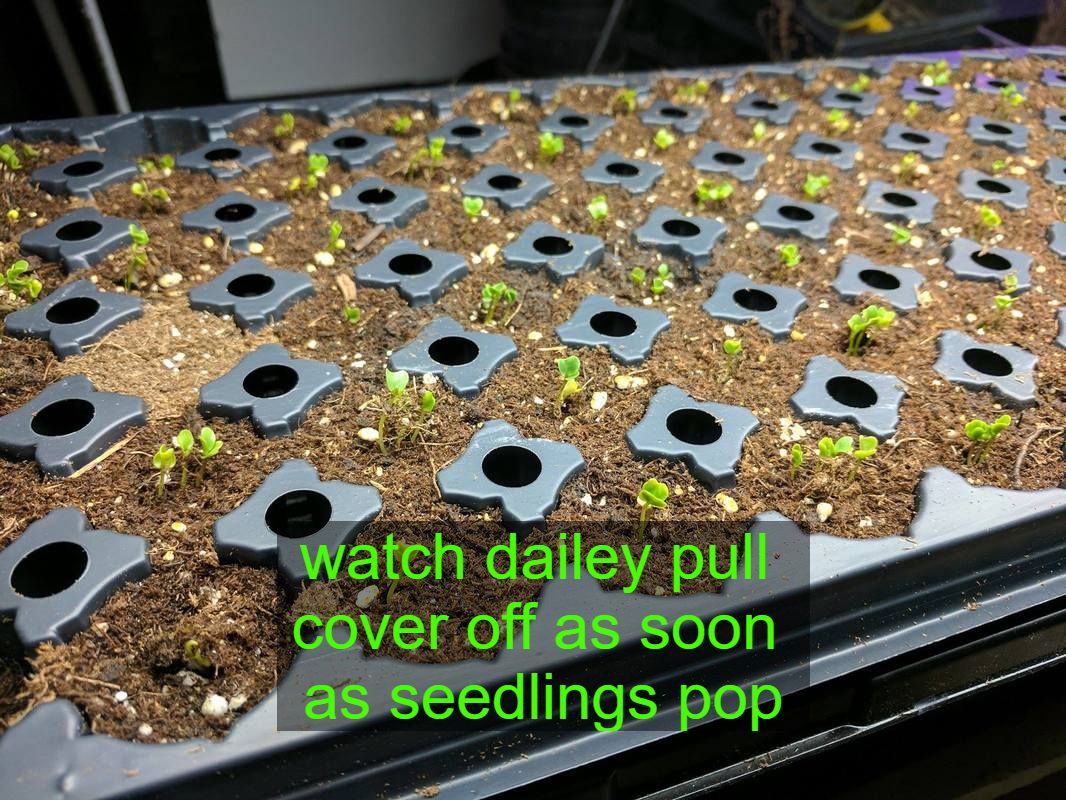
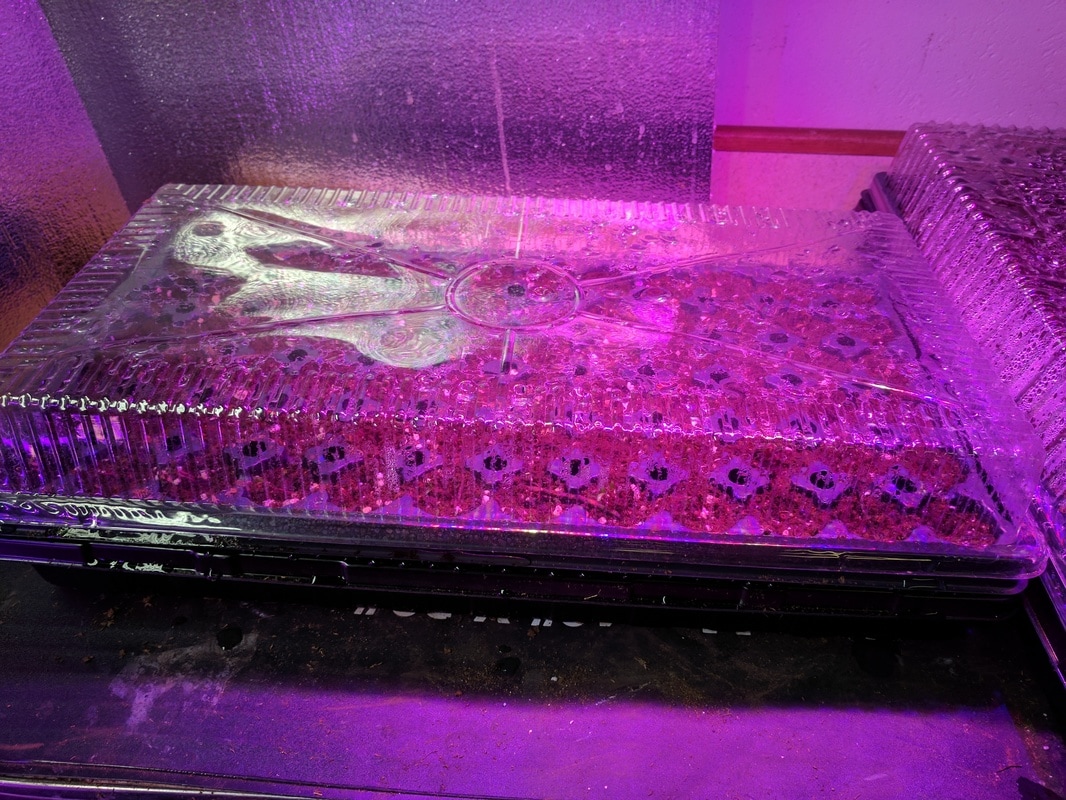
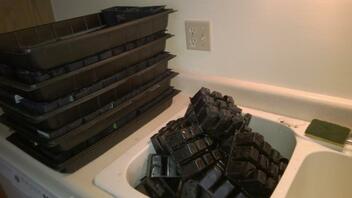 Sometimes I find myself doing tasks in the winter that would have been much easier in the summer. Cleaning trays is one of them. It is just like leaving dirty laundry on the floor. You would not have to go back for it if you had put it in the hamper in the first place. Ok, back to real life. It is great to recycle old seed starting trays, but they need to be sterile. Old trays can harbor pathogens that can dampen off young seedlings. Here is what you "should" do. After you use the trays initially and transplant seedlings into your garden, clean your trays using the following steps: 1. Shake out loose dirt. 2. Rinse off with garden hose. 3. Wash with 10% bleach solution or soapy water. (some gardeners soak trays in a tote or kiddie pool of bleach water) 4. Rinse 5. Let trays completely dry in the sun. 6. Store in plastic garbage bags until ready to use. Whenever you choose to clean your trays, your seedlings will be glad you did.  Pruning has never been one of my favorite things. I am always afraid of doing permanent damage. In reality, apple trees are tough and very forgiving. The best start to pruning is good-quality sharp and sterile pruning tools. Hand held bypass pruners, long handle lopping shears, and a pruning saw are some great ones. A good tip: if you have a battery powered reciprocating saw, it will do the job on branches that are too big for the loppers. When cutting, you want a clean cut without smashing the wood. When to Prune Apple Trees Summer pruning of apples helps encourage fruiting and flowering, but winter pruning is essential for controlling shape and vigor. Winter pruning starts when the trees go dormant and lasts until early spring before they start to bud. 1. Remove the 3 "D's". That’s diseased, dying and dead wood. If the wood shows obvious signs of any malady, amputate it. Make the cut into healthy wood to ensure the problem doesn’t spread. 2. Remove crossing branches. If two branches cross, they will rub away the bark and potentially provide an entry point for disease. They will also make it harder for air to circulate, and make harvesting more awkward. Try to imagine how the branches will look when weighed down with leaves and fruits; will they rub against a branch below? If you spot two branches that are likely to cross in the future, prune one of them out now. It’s an easier job to make these cuts while they’re still small. Think of any inward-pointing branches as crossing ones, and remove. 3. Make the biggest cuts first. You can spend an awful lot of time removing a small dead twig here and a spindly inward-turning shoot there, but when thinking about removing a small branch it’s a good idea to trace it back to the trunk to see if there are other problems. You might find that it crosses with another further back and that it, therefore, should be cut out closer to the trunk. 4. Make clean cuts. Use clean, sharp pruning tools. If you’re doing a lot of pruning you may need to stop occasionally and re-sharpen the blade. High-quality tools will retain an edge for much longer. Always cut just-above a healthy outward-facing bud. This is where next year’s growth will spring from. If you need to remove a whole branch, make your cut close to – but not into – the main branch or trunk. Look for the raised ‘collar’ where the branch joins and cut flush with that. When using a saw to prune larger branches, first make a shallow undercut before sawing through from above. That way if the branch breaks off as you’re cutting it, it won’t rip off a long section of the tree’s protective bark. Prune very thick or long limbs in sections. It may seem like more work but it’s much safer, and it’s less likely to cause damage if the branch breaks under its own weight as you’re cutting. 5. Take your time. Keep stepping back and checking the overall shape of the canopy to make sure it looks balanced before making your next cut. A little change in perspective can make a big difference! 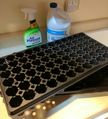 Indoor seed starting is a great way to get a head start on your Spring gardening. It can also bring lots of frustration with leggy plants, poor root systems, bad germination, and damping off. I have a few tips that have helped me become a master at indoor seed starting. 1. Order good quality seeds, store in cool dry place. 2. Don't jump the gun and plant to early. This results in plants that are root bound, leggy, and too big for transplant. Know our last frost date ( I go with May 15th ) and read the seed packet to see how many weeks before that to start seeds. or find a nice chart with planting dates. 3. Use a good quality I use Promix it works great for me you can find it a many professional growing stores. 4. Use new or clean seed starting trays. If you reuse old trays clean them well with bleach water and let them dry before using. This will insure any residual fungus is removed from previous growth. 5. Seeds germinate best in warm soil. A seed starting heating mat . 6. I like good quality seed trays. I like the with 3 inch deep cells. Also good heavy duty seed bottom trays. Also clear plastic seed tray covers. Lets get started. 1. Fill seed tray cells to top with soil. Crush up and large soil chunks. 2. place seeds in cells at depth recommended on seed pack. 3. fill bottom tray 1/4 to 1/2 full with very hot water from sink. This will take a little trial and error depending on size of cells and type of soil you want the water to wick up to top of cell and keep seeds moist until they sprout. Hot water at first will speed up germination. 4. Put on heat mat, and cover with plastic dome to keep moisture & heat in 5. Pull cover off as soon as seedlings appear. 6. Key to healthy seedlings is to always water from bottom. Let bottom tray dry out before watering, then do not over water. Water enough in bottom to soak part way up soil, keep top of soil dry. Make sure tray is level so it gets watered evenly. 7. Light on new seedlings is important. If using grow lights 16 to 18 hours. If using window light try to get as much light as possible and rotate tray so it gets even light. Happy Growing |
ContributorsWe love to feature blogs from all of the members of our team, including core staff, interns, volunteers, and others. We hope you enjoy the stories and find the information useful! Archives
January 2023
Categories |
AddressLaSalle Square
3701 Prast Blvd. South Bend, IN. 46628 |
Hours
Garden: always Welcome Center Mon-Sun: 9am-7:30pm |
Telephone574-222-2266
After Hours: 574-315-4361 |
Unity Gardens
PO Box 10022 South Bend, IN. 46680 |




 RSS Feed