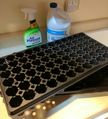
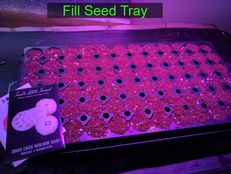
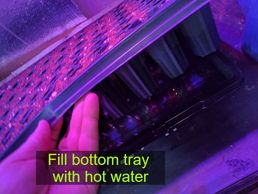
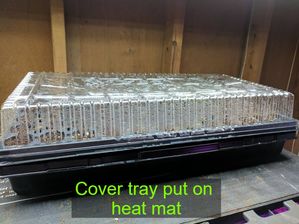
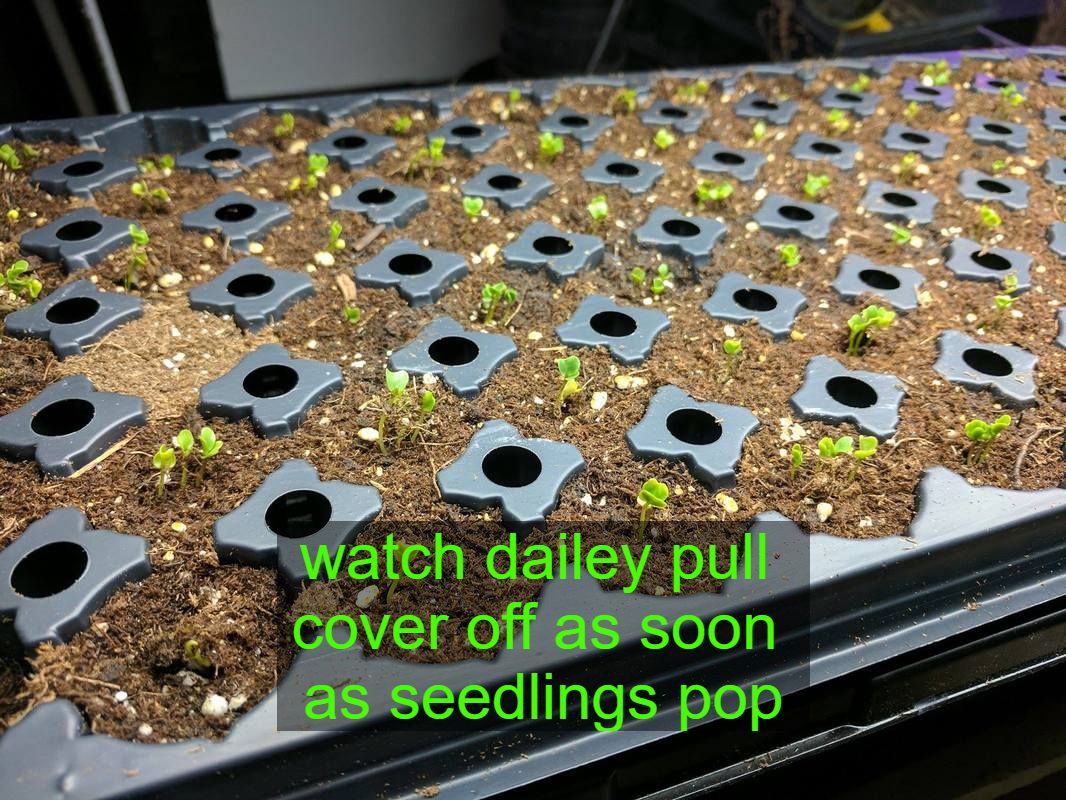
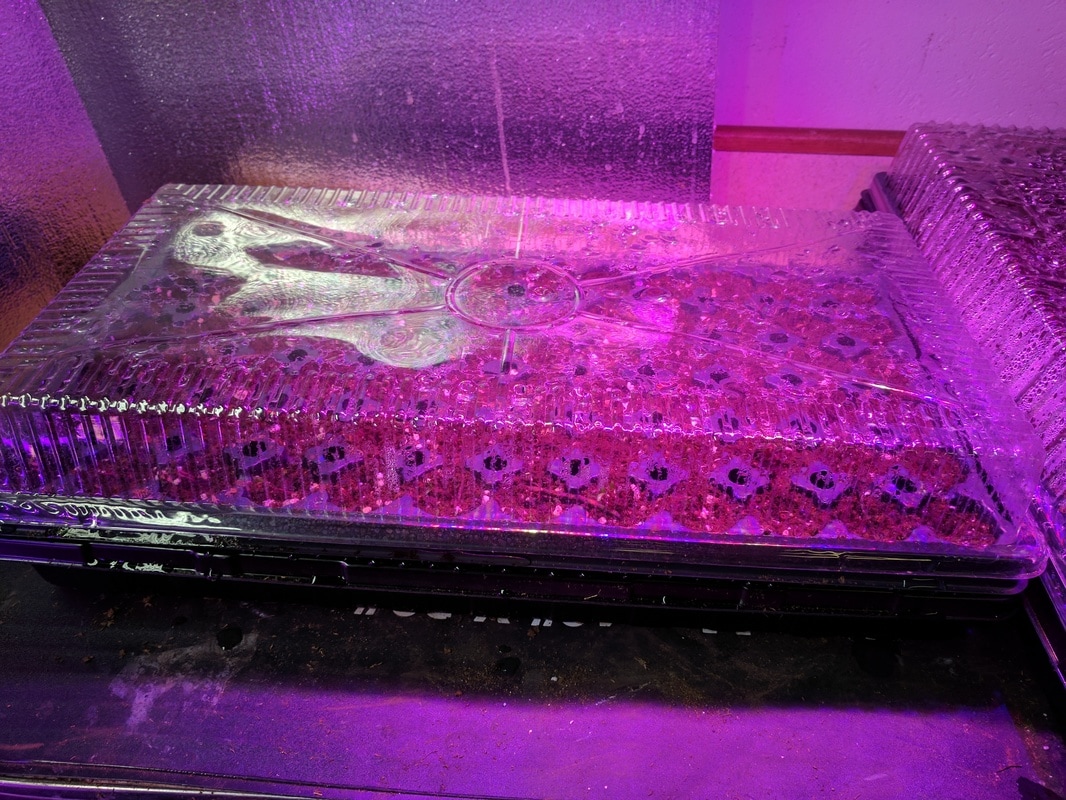
 Indoor seed starting is a great way to get a head start on your Spring gardening. It can also bring lots of frustration with leggy plants, poor root systems, bad germination, and damping off. I have a few tips that have helped me become a master at indoor seed starting. 1. Order good quality seeds, store in cool dry place. 2. Don't jump the gun and plant to early. This results in plants that are root bound, leggy, and too big for transplant. Know our last frost date ( I go with May 15th ) and read the seed packet to see how many weeks before that to start seeds. or find a nice chart with planting dates. 3. Use a good quality I use Promix it works great for me you can find it a many professional growing stores. 4. Use new or clean seed starting trays. If you reuse old trays clean them well with bleach water and let them dry before using. This will insure any residual fungus is removed from previous growth. 5. Seeds germinate best in warm soil. A seed starting heating mat . 6. I like good quality seed trays. I like the with 3 inch deep cells. Also good heavy duty seed bottom trays. Also clear plastic seed tray covers. Lets get started. 1. Fill seed tray cells to top with soil. Crush up and large soil chunks. 2. place seeds in cells at depth recommended on seed pack. 3. fill bottom tray 1/4 to 1/2 full with very hot water from sink. This will take a little trial and error depending on size of cells and type of soil you want the water to wick up to top of cell and keep seeds moist until they sprout. Hot water at first will speed up germination. 4. Put on heat mat, and cover with plastic dome to keep moisture & heat in 5. Pull cover off as soon as seedlings appear. 6. Key to healthy seedlings is to always water from bottom. Let bottom tray dry out before watering, then do not over water. Water enough in bottom to soak part way up soil, keep top of soil dry. Make sure tray is level so it gets watered evenly. 7. Light on new seedlings is important. If using grow lights 16 to 18 hours. If using window light try to get as much light as possible and rotate tray so it gets even light. Happy Growing
14 Comments
If your are missing being out in the garden here is something fun to do that keeps you in touch with your green thumb. Even though the the ground is frozen you can get an early start on your garden. When I first heard of Winter Seed Sowing it was pretty simple. You wait until early January to do this. You take a old Kiddie pool poke some holes in the bottom, fill the bottom with about 2" of soil throw some old leftover seeds in water, and cover with clear plastic. You leave it out in the back yard and the concept is after freezing the seeds will come up when they are supposed to. I have done it for fun in the past and it worked Ok for what it was. This year I am going to be a little more organized in the way I do my winter seed sowing. I am using milk jugs as mini greenhouses to sow in. As a rule of thumb you can do this with any seed that will grow in your zone. sometimes seeds can also sprout during some freak warm spell between weeks of frigid conditions. This is not a problem for perennials and hardy annuals. But if this happens to tender annuals you may need to cover them with a blanket on chilly nights. Hardy plants to sow in January and February are perennials and vegetables like Spinach,Kale,Brussels sprouts, Peas, Broccoli, Thyme, Sage, Oregano, and Cilantro. In March
Tender Annuals, Vegetables & Herbs Lettuce, Bok Choy, Beets, Carrots, Basil,and Parsley. In April Tomatoes, Eggplant and Peppers. Check out these simple instructions below. Use good weed free soil, and once the plants are large enough take them apart and transplant into your garden. Happy Gardening |
ContributorsWe love to feature blogs from all of the members of our team, including core staff, interns, volunteers, and others. We hope you enjoy the stories and find the information useful! Archives
January 2023
Categories |
AddressLaSalle Square
3701 Prast Blvd. South Bend, IN. 46628 |
Hours
Garden: always Welcome Center Mon-Sun: 9am-7:30pm |
Telephone574-222-2266
After Hours: 574-315-4361 |
Unity Gardens
PO Box 10022 South Bend, IN. 46680 |




 RSS Feed